
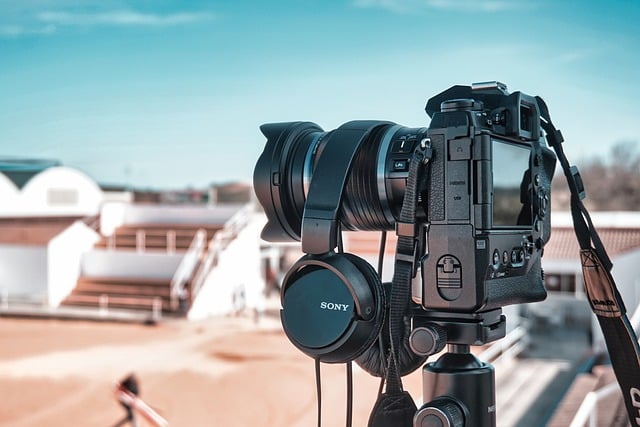
DivX is a powerful video compression format known for delivering high-quality visuals at low bitrates, ideal for saving storage space. Converting videos to DivX using compatible tools involves setting bitrate and quality preferences before conversion, ensuring optimal compatibility across devices while preserving visual fidelity. The process begins by downloading the latest DivX codec from their official site. Users import their video file, select DivX as the format, adjust settings like bitrate, resolution, frame rate, and audio, then initiate the conversion. Post-conversion, quality is checked by playing back the output video.
Discover the power of DivX—a game-changer in video compression. This technology offers exceptional image quality, ensuring crisp and clear visuals even at low bitrates. In this guide, we’ll explore the science behind its high-quality compression, and provide a step-by-step tutorial on how to convert your videos using DivX efficiently. Learn the secrets to achieving top-notch video quality with this versatile format, all while understanding the unique features that set it apart.
Understanding DivX and Its Unique Features
DivX is a video codec known for its exceptional ability to deliver high-quality video at remarkably low bitrates. This makes it a popular choice for video compression, allowing users to enjoy crisp, clear visuals while saving storage space. The key to DivX’s success lies in its sophisticated compression algorithms that intelligently analyze and reduce video data without compromising on picture quality.
Converting videos to DivX format is a straightforward process. Users can employ various video conversion tools that support DivX encoding. These tools enable easy input of your media files, followed by optimization settings to choose the desired bitrate and output quality. Once converted, DivX files can be played on a wide range of devices and media players, ensuring compatibility and an optimal viewing experience without sacrificing visual fidelity.
The Science Behind High-Quality Compression

The science behind achieving exceptional image quality at low bitrates involves a complex interplay of advanced coding techniques and intelligent data manipulation. When we talk about compression, DivX leads the way in revolutionizing how multimedia files are stored and transmitted. The key lies in its ability to analyze and reduce redundant or less perceptually important data without compromising visual fidelity. This process is often referred to as perceptual coding, where algorithms mimic the human visual system’s sensitivity to certain types of image details.
Converting videos to DivX format leverages these advancements. It involves sophisticated compression algorithms that adaptively adjust encoding strength based on content complexity. For instance, how to convert DivX cleverly employs spatial and temporal prediction, where subsequent frames borrow information from previous ones, reducing the need for repetitive data storage. This method ensures smooth motion while significantly lowering file sizes. Additionally, advanced entropy coding techniques further compress data by assigning shorter codes to more frequent symbols, minimizing overall bitrates without sacrificing quality.
Step-by-Step Guide: Converting Your Videos Using DivX
Converting your videos using DivX is a straightforward process that allows you to achieve exceptional image quality at low bitrates. Here’s a step-by-step guide to help you get started:
1. Download and Install DivX Codec: Begin by downloading and installing the latest version of DivX codec from their official website. This ensures compatibility and optimal performance during conversion.
2. Select Your Video File: Open your preferred video editor or conversion software, and import the video file you want to convert. Make sure it’s in a format supported by DivX (e.g., AVI, MPEG).
3. Choose DivX as Encoding Format: In the conversion settings, select DivX as the encoding format. You can also set the bitrate according to your requirements; lower bitrates result in smaller file sizes with minimal quality loss.
4. Adjust Conversion Settings: Depending on your video editor or software, you may have additional options like resolution, frame rate, and audio settings. Ensure these align with your desired output quality and file size constraints.
5. Start the Conversion Process: Once all settings are configured, click “Convert” to begin the process. The time taken will depend on the length of your video and the selected bitrate.
6. Post-Conversion Check: After the conversion is complete, play back the new DivX file to ensure it maintains exceptional image quality throughout.
DivX has proven itself as a powerful tool for achieving high-quality video compression at remarkably low bitrates. By understanding the science behind its unique features and following a straightforward step-by-step guide, you can now effortlessly convert your videos using DivX, ensuring exceptional image quality while optimizing file size. Mastering this process allows you to share and enjoy rich media experiences with minimal compromise.